
Every once in a while, boys (whether they
are three or thirty years old) need to retreat into their own space. Call it a man cave, mantuary, fortress of
solitude... whatever the terminology, I get it.
In fact, I welcome time spent in the man cave, because it means I'm off
duty and can finally take a nap.
But until now, the boys have not had a
proper "mini man cave" in the house.
Last year, they came up with the ingenious idea of pitching a tent in
the living room. My husband, who is the
de facto leader of the boys, was thrilled. Before I knew it, he moved the
furniture aside and erected a 16-foot camping tent that occupied nearly the entire length of
the room. To make the sleeping arrangements
more comfortable, the boys "borrowed" two mattresses from
the beds upstairs and positioned them side by side in the tent, and then tossed
in a few sleeping bags and pillows.
They were overjoyed. Like squirrels storing nuts for the winter, they brought in flashlights, toys and books, ready to hunker down until Spring. And for the next several weeks, they slept in the tent every night. They congregated and held secret meetings there in the afternoons. And whenever I couldn't hear them in the house, I knew exactly where to find them.
They were overjoyed. Like squirrels storing nuts for the winter, they brought in flashlights, toys and books, ready to hunker down until Spring. And for the next several weeks, they slept in the tent every night. They congregated and held secret meetings there in the afternoons. And whenever I couldn't hear them in the house, I knew exactly where to find them.
And then, a few weeks later, the tent was swiftly destroyed when my sons, along with three other boys, decided
to see if they could climb to the top. A
support beam snapped, and the entire tent collapsed. The boys begged me to keep the tent, but I finally
had a reason to take back my living room.
That was Man Cave 1.0. Its operating system literally crashed due to
boy overload.
After they lost their tent,
the boys periodically created makeshift shelters out of blankets and whatever
furniture they could commandeer. I often
found them barricaded in their playroom, hiding in a lopsided fort made of two armchairs with a blanket draped over their heads.
Enter Man Cave 2.0.
Enter Man Cave 2.0.

However, at $1800 (shipping and tax included), the bed is rather pricey. So he decided he'd build one himself, even if it takes him all summer to complete it.
Well, naturally, being the pesky wife that I am, I had a ton of questions: "When are you going to find the time to work on this? How are you going to calculate the weight bearing capacity of the top bunk? Can you imagine the older two boys jumping on the platform and the whole bed crashing down on the younger two boys? Are we going to end up with hundreds of dollars worth of lumber taking up space in our garage for the next several years?"
Just a wee bit annoyed, he replied matter of factly: "I have a graduate degree in
engineering and you think I can't build a fort?" (This was the point in the conversation when I knew I'd have to apologize later for my lack of faith.)
During the first week, he
spent his evenings sawing, staining, drilling, and hammering. He finished the
platform structure, which looked like a giant table on four legs. He proudly assembled it in our playroom, and
the boys (dad included) enthusiastically tested out the load bearing capacity
by jumping up and down on it for twenty minutes.
The project languished for the
next several weeks while we traveled and took the boys to the neighborhood pool. During this lull, there
were a few trips to Home Depot to buy power tools and various other manly
acquisitions which I was not entirely certain were absolutely necessary for the
project at hand.
And then one night, my
husband sprang into action. He shifted
into full-blown mad scientist (or rather, mad carpenter) mode, and knocked out the rest
of the fort in a few consecutive evenings. Without any building plans to follow, he came
up with his own design inspired by the Pottery Barn Kids fort bed.


 After finishing the structure, my husband assigned me the task
of decorating the fort. The Pottery Barn
Kids version featured ocean and surf-related accessories that can be purchased
separately. But we wanted to make our
fort true to the style of an old-fashioned boys' treehouse.
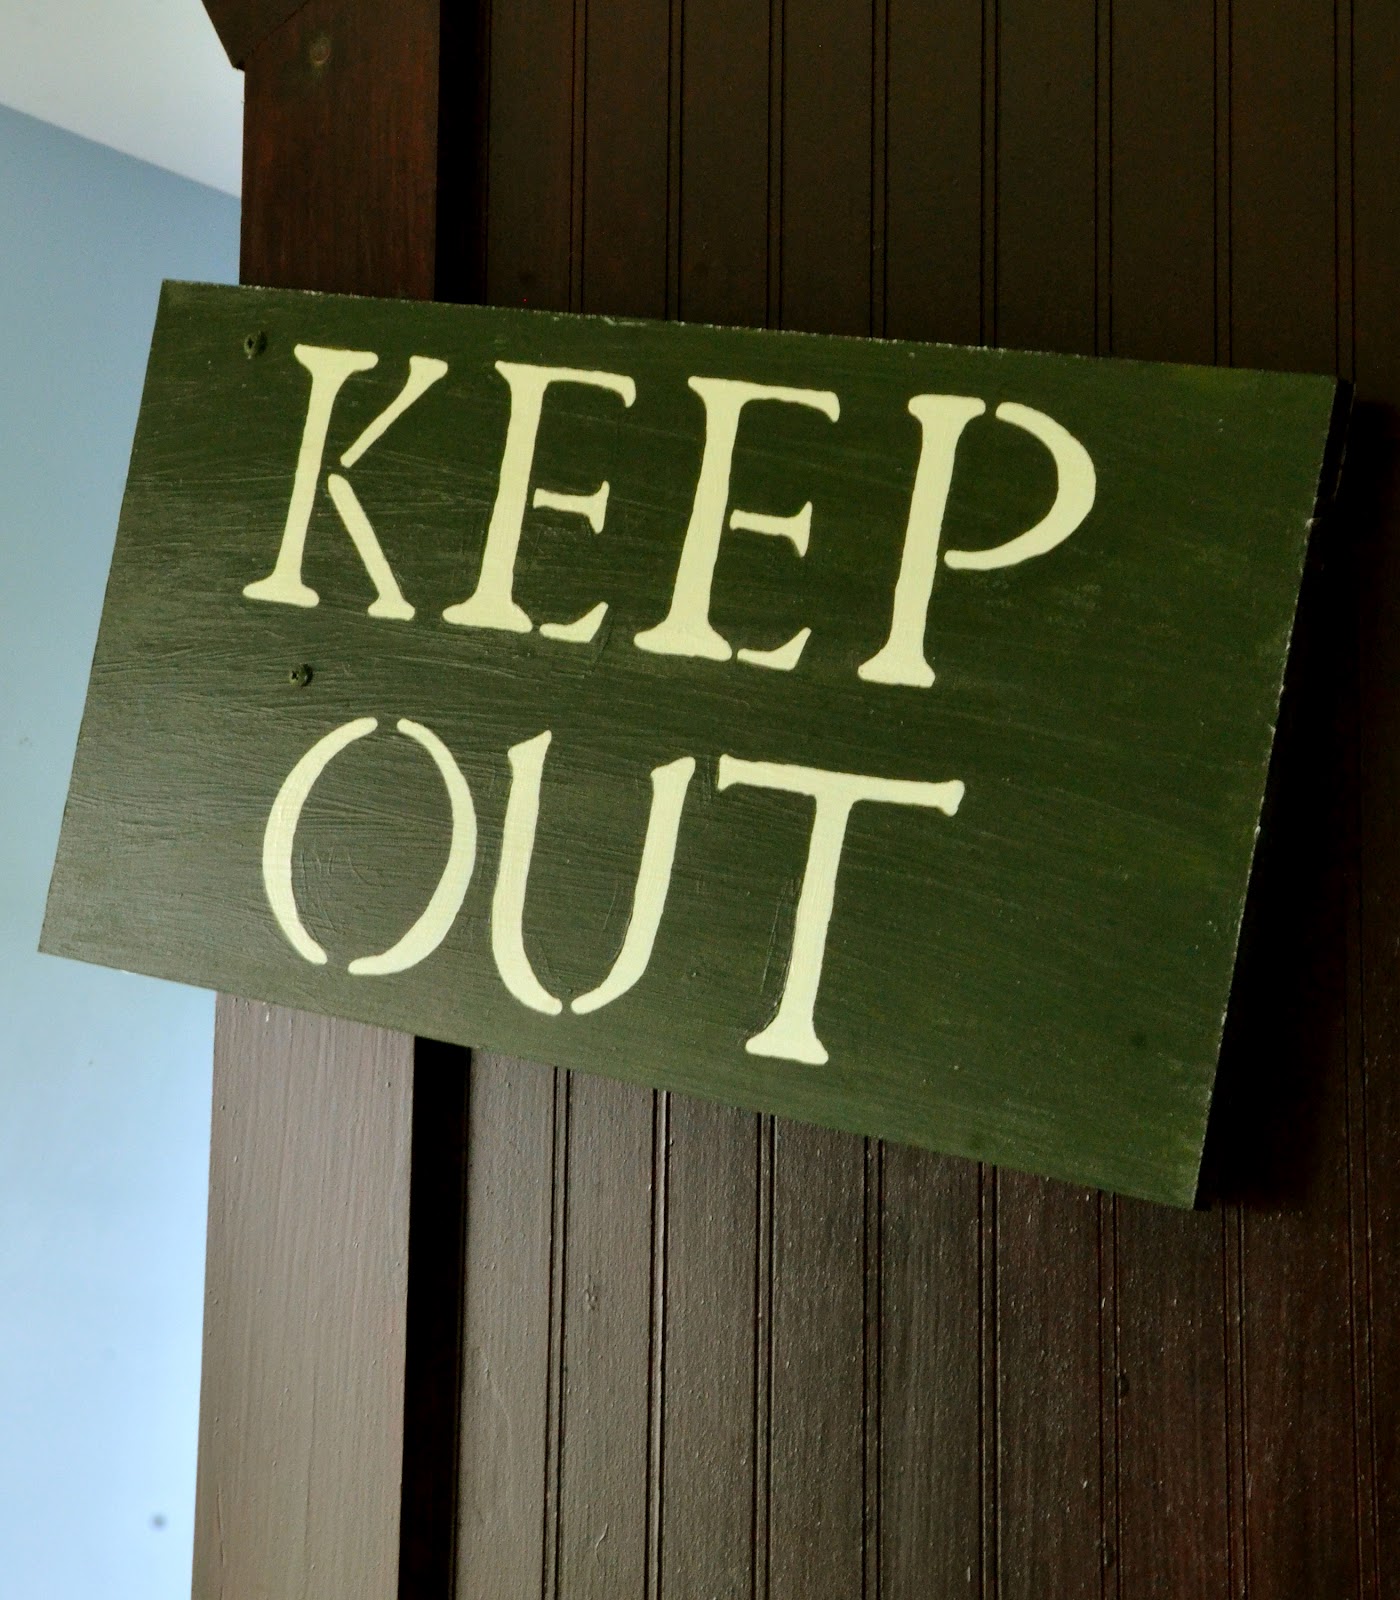
So I created my own wooden signs using cedar planks, stencils and acrylic craft paint. Now, every club requires some level of exclusivity, so a "Keep Out" sign is mandatory.
After finishing the structure, my husband assigned me the task
of decorating the fort. The Pottery Barn
Kids version featured ocean and surf-related accessories that can be purchased
separately. But we wanted to make our
fort true to the style of an old-fashioned boys' treehouse.
So I created my own wooden signs using cedar planks, stencils and acrylic craft paint. Now, every club requires some level of exclusivity, so a "Keep Out" sign is mandatory. 
I came up with the idea for this next sign, after I found a brass plated plaque with the phrase "No Girls (Except Mom) Allowed" and a skull and crossbones motif, in a store. I wasn't enticed to spend $70 for the plaque, and I also wanted the sign to be wooden and rustic in style. So I borrowed the phrase and made my own sign. And I added "Boys Only"... as if we need any additional explanation.

Well, our clubhouse would not have been complete without a pirate-themed sign. Again, using stencils and acrylic paint, I created the "Beware of Pirates" sign on a cedar plank, and then decoupaged little pirate graphics (which are actually party invitations sold at Target) using Mod Podge glue.

We tossed around a few other ideas for the front of the clubhouse. A sliding window? A porthole with a mounted telescope? A bucket attached to a pully system to carry loot from the ground level to the top level? Well, in the end, we decided to keep it simple. We made a wooden mailbox... perfect for delivering notes written in code, treasure maps, and instructions for secret missions.
Although we decided against enclosing the clubhouse with a door, we added a working doorbell... because you know, boys love pushing buttons, figuratively and literally. You can buy a remote doorbell at any home improvement store. The one we purchased was plastic and didn't fit the rustic style, so I painted it to match the rest of the fort. The button was mounted with double-sided tape, and the "bell" part is plugged into an outlet inside the clubhouse. I'm not sure if we'll regret the doorbell someday... but the beauty of this option is that I can remove it anytime if the incessant ringing starts getting on our nerves.
I love how the fort turned
out. The boys adore their new digs, and they currently only emerge for bathroom breaks and meals. My husband is a genius. And now that our summer project is finished,
he too can finally relax in his own man cave. As for me, it appears no one needs me at the moment... I think I'll go take a nap.